Things you need
click link to download.
After download save this folder on desktop for easy access.
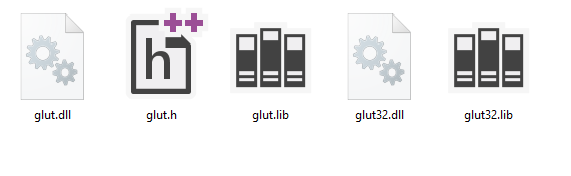
Make sure you download the right files.
In some windows files extension( .dll .lib) are hidden by default to show the file extension you can do this.

There is alot of methods available to configure OpenGl in Visual Studio but i will Show you best method. This is one time process no need to repeat for every new project.
Step 1
Copy files ( glut.lib and glut32.lib ) and paste it in your C:\Program Files (x86)\Microsoft Visual Studio 14.0\VC\lib folder.
if your Microsoft Visual Studio 14.0 is not available then paste it to Microsoft Visual Studio 13.0 or lower version (12.0) VC\lib directory.

Step 2
Copy file ( glut.h ) and paste it in your C:\Program Files (x86)\Microsoft Visual Studio 14.0\VC\include folder.

Step 3
Copy files ( glut.dll and glut32.dll ) and paste it in your C:\Windows\System32 folder.

Step 4
This is last step.
Copy files ( glut.dll and glut32.dll ) and paste it in your C:\Windows\SysWOW64 folder.

Now your OpenGL is configured in Visual Studio. See my next post to create a basic OpenGL program . Thanks.
No comments:
Post a Comment